
Learning to love ‘groff -ms’
My journey with markup systems began when I was an undergraduate physics student at university. Until then, I wrote class papers using a desktop word processor for DOS, like WordPerfect. But in 1992, I discovered the Unix lab on campus, and by 1993, I looked for that same kind of computing power on my home computer. That’s how I found and installed my first Linux distribution.
Unfortunately, Linux didn’t have any desktop word processors. Whenever I asked for help online, others told me to “do it the Unix way: learn LaTeX or nroff.” I actually learned both; LaTeX made it easy to format equations and other mathematics when writing my physics lab reports, and nroff made it easy to write other class papers that could “get by” with typewriter-like output.
Linux provides nroff- and troff-compatible formatters as groff, although some Linux distributions install a minimal groff by default, just enough to format manual pages that use it. If you want to explore groff, you may need to install the remaining packages; on Fedora Linux, you can use this:
$ sudo dnf install 'groff-*'Most people prepare documents in nroff using a macro package, and at first I used Eric Allman’s -me macros. These were fairly straightforward, with macros like .sh for a numbered section heading, .uh for an unnumbered section heading, .pp to start a new paragraph, .b for bold text, and .i for italic or underlined text.
.sh 1 "Introduction"
.pp
This is the first paragraph of a paper.
You can format text in
.b "bold"
or
.i "italic"
text.
More recently, I’ve started exploring the -ms macro package, and I really like it. Let’s explore how to get started with groff -ms to create documents.
A brief history
The -ms package has a long history, but I’ll summarize it briefly this way: When Ken Thompson created Unix at Bell Labs, one of the early programs was Joe Ossanna’s roff text formatting system. This was a version of the RUNOFF formatter by Jerry Saltzer, but only supporting the abbreviated versions of RUNOFF’s formatting commands. Later, the Unix team updated roff (as nroff or new roff) to support more advanced formatting required by the Legal team, for preparing patent applications. Much later, Bell Labs purchased a Graphics Systems Model C/A/T phototypesetter, and Ossanna again updated nroff to become troff for using the typesetter.
Along the way, Bell Labs collected a set of formatting macros for advanced technical writing. The -ms macro package makes it easy to prepare documents that look great anywhere. More recently, I started learning how to use -ms to create professional looking PDF content.
Document structure
The -ms macros assume a certain document structure, using this order of precedence:
- If writing a formal document with a cover page, start with
.RP - Define registers and strings to set custom font, font size, margins, etc.
- Document information, like the title and author
- The body text, using headings and paragraphs
If you are satisfied with the defaults, your documents can start with the document information, then the body text.
Document information
The -ms macros provide lots of options to define the document information, but as a beginner, I find I rely on just a few:
Start the title with the .TL macro, then any lines that follow will be formatted as the title.
Define the author using .AU and type the author’s name on the lines that follow. To include the author’s institution (such as for an academic paper), use the .AI macro, with the institution on the next line.
To include a date in the footer of the document, use the .DA macro on a line by itself. You can also give this an argument, such as to give a specific date.
If your document requires an abstract, use the .AB macro to start it, and .AE to end the abstract. The abstract, if provided, should be the last item provided before typing the body text.
.TL
This is the title
.AU
Jim Hall
.AI
My Institution
.DA "today"
.AB
This is the abstract.
You might need to provide an abstract if you are
writing a scientific paper intended for academic
publication.
.AE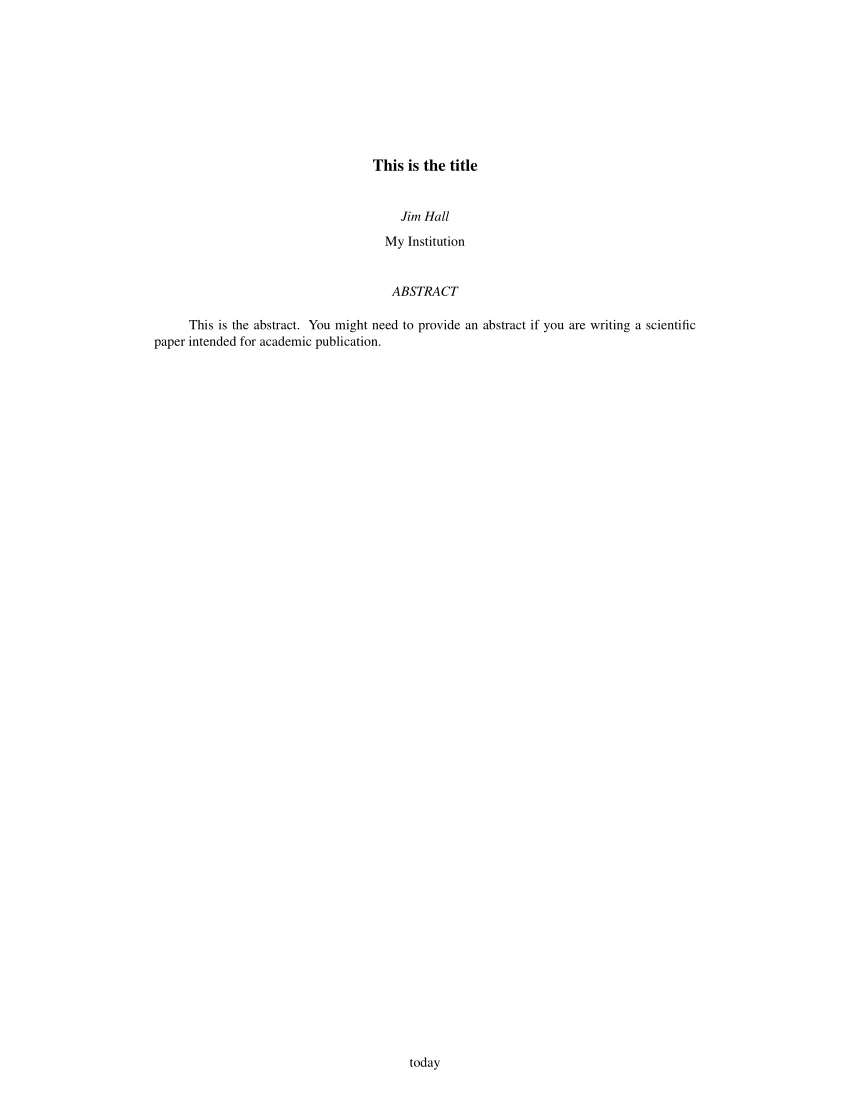
Document body
Documents are usually structured using headings and paragraphs. Use .NH to start a numbered heading, with the section title on following lines. For unnumbered headings, use the .SH macro instead, also with the section title on the next line.
Start regular paragraphs with the .PP macro on a line by itself. By default, this is a first-line indented paragraph, which is typical for most professional documents. If you need a left-block paragraph instead, use the .LP macro.
Citations use a different format, where the first line is “exdented” (instead of indented) and following lines are indented. To format an “exdented” paragraph, use the .XP macro.
For different kinds of emphasis within the text, use bold and italic text. The .B macro will set all following text in bold, and the .I macro will use italic text. For either, you can also provide an argument to format only that text in bold or italic. If you provide following arguments, they will be the “post” and “pre” text, respectively. This is useful if you need to format a phrase in bold, but don’t want the trailing comma to be bold. Or you might need to format text in italics, but also inside parentheses, but prefer that the parentheses remain in normal text.
If you use either .B or .I on a line by itself, all following text will appear as bold or italic. To revert to normal text (called “roman” text) use the .R macro.
.TL
This is the title
.AU
Jim Hall
.AI
My Institution
.DA "today"
.AB
This is the abstract.
You might need to provide an abstract if you are
writing a scientific paper intended for academic
publication.
.AE
.NH
Introduction
.LP
In most documents, you might use first-line indented
paragraphs. But if you want your document to look
really fancy, consider using a left-block paragraph
after section headings and after major displays such
as images.
.PP
After that, use first-line indented paragraphs.
You can also use a number register to define the
amount of space for the first-line indent.
.SH
Works
Cited
.XP
Author, A.B. Title of article.
.I "Title of periodical" ,
.I "vol num"
.I "issue num" ), (
pages.
(here is some extra text to cause the exdented paragraph
to wrap, so you can see what it looks like)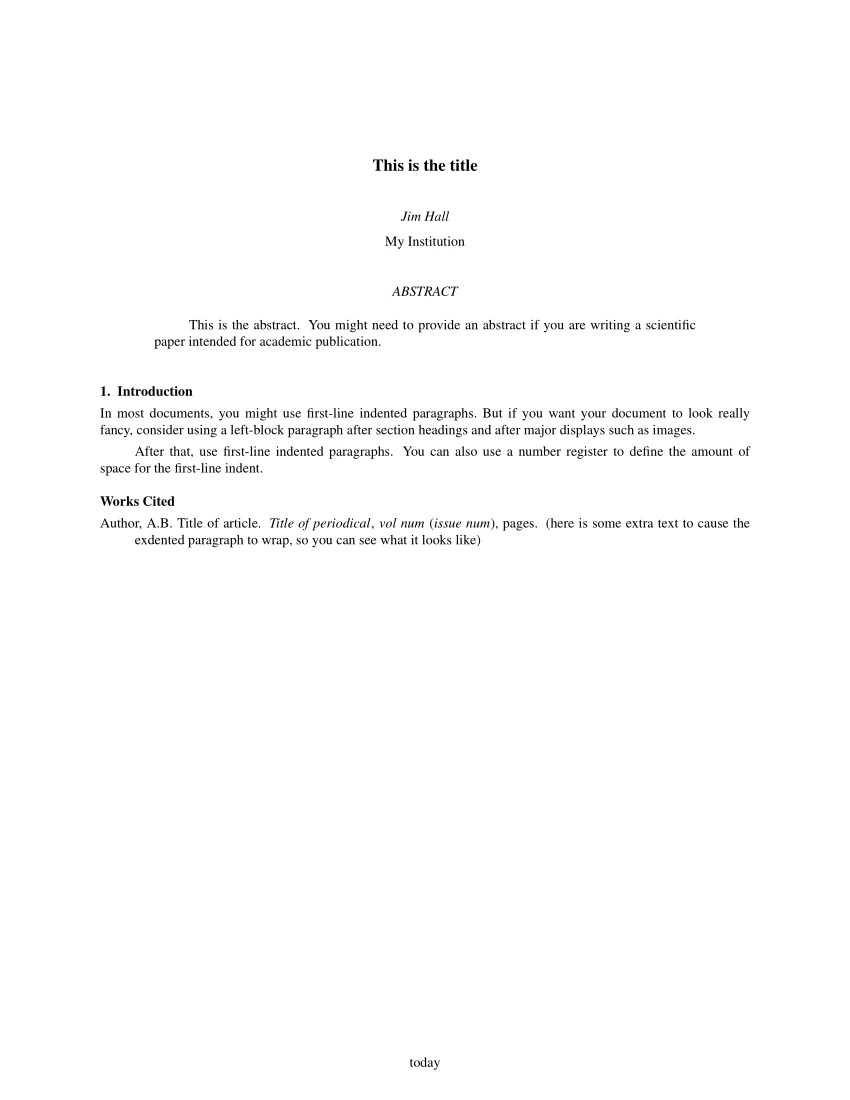
Two-column format
Many scientific journals prefer to publish articles in two-column format. The narrower columns often makes the text easier to read, if the text isn’t too long.
To format your document in two-column format, add the .2C macro. But remember the document structure that -ms expects; the .2C macro is considered body text formatting, so it should go after the abstract and before your first section heading. Here’s a longer sample that includes some “lorem ipsum” placeholder text, so you can see the output in two-column format:
.TL
This is the title
.AU
Jim Hall
.AI
My Institution
.DA "today"
.AB
This is the abstract.
You might need to provide an abstract if you are
writing a scientific paper intended for academic
publication.
.AE
.2C
.NH
Introduction

...

.SH
Works
Cited
.XP
Author, A.B. Title of article.
.I "Title of periodical" ,
.I "vol num"
.I "issue num" ), (
pages.
(here is some extra text to cause the exdented paragraph
to wrap, so you can see what it looks like)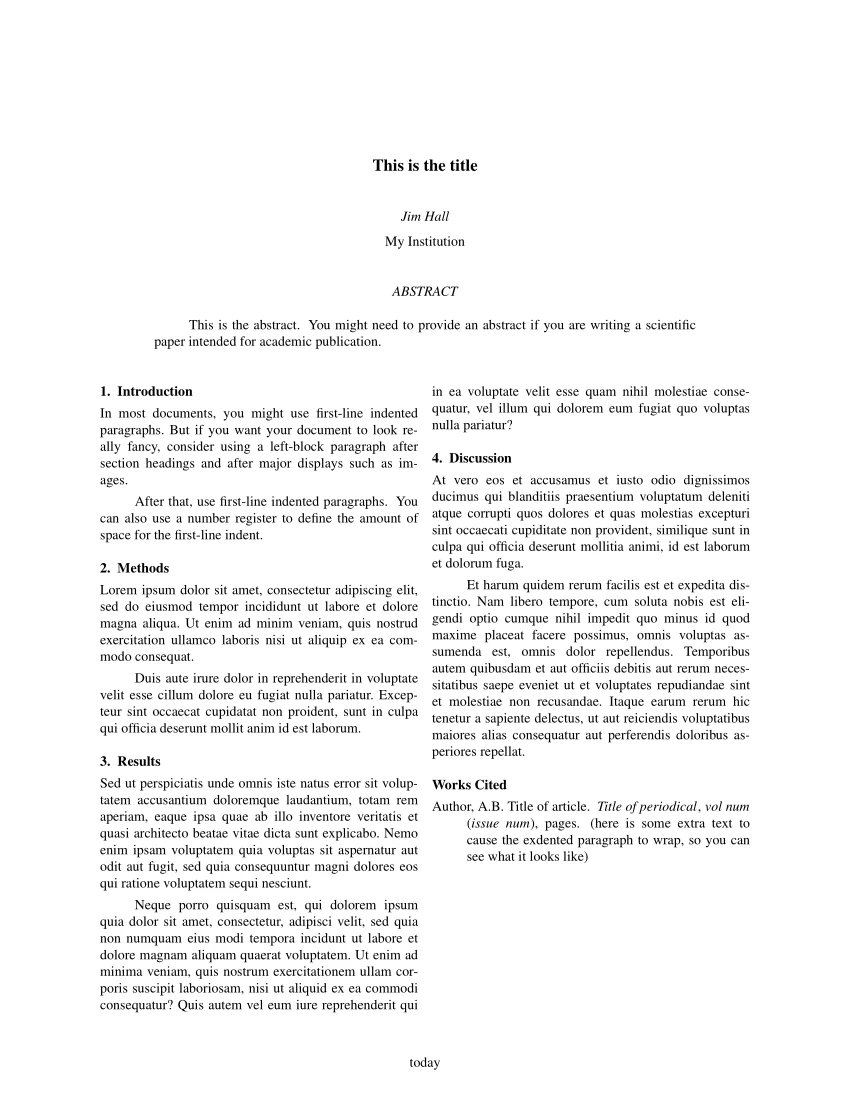
Writing with groff
While groff is somewhat niche these days, I really enjoy writing with groff. With groff, I can focus on the content of what I’m writing, with little distraction. After a while, I find the “dot commands” to format my document become almost natural, or at least very minimal.
With groff, you can produce different kinds of output, including HTML for web delivery, PDF for online viewing, and PostScript for printed output. For example, to format a paper using groff -ms as a PDF, type:
$ groff -ms -Tpdf paper.ms > paper.pdfTo learn more about formatting with the -ms macros, read the groff_ms(7) manual page on your system:
$ man groff_msThis article is adapted from Learning to love ‘groff -ms’ by Jim Hall, and is republished with the author’s permission.
More Stories
Fedora 42 upgrades at Both.org
Fedora 42 was released today, and I've been upgrading my systems. So far I've only done my internal systems and...
Fedora 42 has been released
It's now 21 years since Fedora Core 1 was originally released in November of 2003, and it's still maintaining its...
Five reasons for Windows users to move to Linux
Take back your power As the October deadline for dumping Windows 10 is fast approaching, many users are considering their...
Linux News
There are two items of interesting Linux news today. Fedora 42 The first is that Fedora 42 will be officially...
Breaking News – M$ Allows older computers to install Windows 11
Microsoft has finally bowed to the inevitable and changed their draconian stance on older computers. They'll now allow older computers...
Why does M$ require so much personal information?
Microsoft is really getting insistent about requiring an account before you can install new versions of Windows. They're even blocking...