Running FreeDOS on legacy hardware
Last year, a storefront on AliExpress (a website similar to Amazon, selling all kinds of products from a variety of sellers) produced two interesting “retro computing” products: a micro laptop called the “Book8088” which contained an 8088 CPU, and a handheld device called “Hand386” that sported a 386 processor but required you to type with your thumbs.
At the time, I thought these were really cool. But those specific systems didn’t interest me much beyond that. I wanted to use whatever computer I bought, and I didn’t want to get stuck typing with my thumbs on the Hand386. And the 8088 CPU would be too slow to run many modern DOS programs, especially my favorite DOS applications and games from the 1990s. But I probably would have bought one if they’d “swapped” the configurations: a handheld 8088 or a 386 micro laptop.
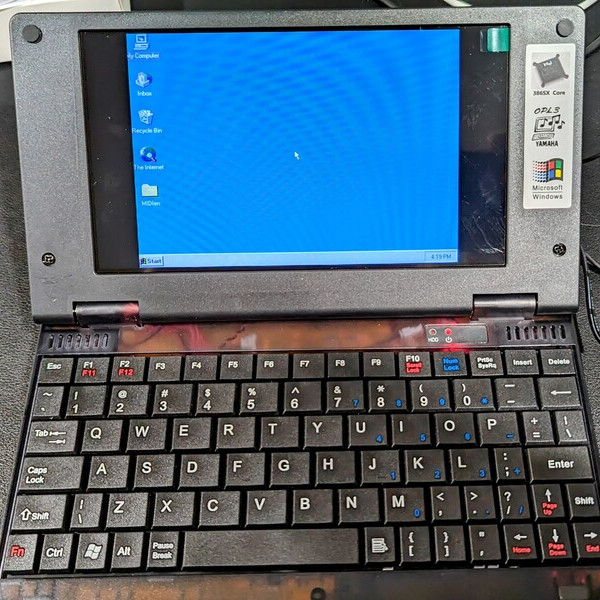
And in May this year, they started selling exactly that: the Pocket386 (about $200) has a 386-SX CPU running at 40 MHz, with 8 MB of memory and 2 GB of storage. It also has a built-in Cirrus CL-GD542x compatible VGA card and OPL-3 sound card. The Pocket386 comes pre-installed with Windows95 – but that was soon to change.
Installing FreeDOS
You can’t install FreeDOS directly on the Pocket386. At least, I didn’t have the necessary hardware.
The Pocket386 has a CH375B USB controller in it, but it requires a driver to get it working. Some desktop PC systems provide floppy emulation through the BIOS (or the UEFI, when running in “Legacy” mode) which allow you to connect a USB flash drive at boot time, and the system will recognize it as the “A:” drive. But I couldn’t find any options in the BIOS that activated the USB port. Then again, the Pocket386 has an AMIBIOS version 1.16 from 1996; that’s the same year that USB 1.0 was invented. The BIOS doesn’t provide native emulation of USB drives.
The Pocket386 also has pinouts for IDE and parallel, which might support connecting an “external” CD-ROM drive or second hard drive. But I don’t have that hardware; I recycled any such “classic” hardware that I still had in storage about ten years ago when I last moved.
However, the 2 GB storage is on a removable CF card. This gave me an idea: connect the CF card to my Linux desktop, and install FreeDOS from there.
I have a CF card reader at home; after plugging in the CF card, Linux recognized the CF as /dev/sda. Once I had that, I backed up the storage device (in case I needed to restore to defaults later) using the dd command:
$ sudo dd if=/dev/sda of=win95.cfI could have used the FreeDOS 1.3 installer, but the FreeDOS release coordinator (Jerome) posts a new Test Release every month, with the latest updates. Usually, this is for testing, and will someday become the base for the next official FreeDOS distribution. Releases are named “T” then the two-digit year and two-digit month, so the test release for June 2024 is T2406.
I decided to use the test release because it was the most up-to-date, and included several fixes that other folks needed to successfully install FreeDOS on last year’s Book8088 device. This was easy to do using QEMU on Linux:
$ sudo qemu-system-i386 -enable-kvm -m 32 -hda /dev/sda -cdrom T2406LIVE.iso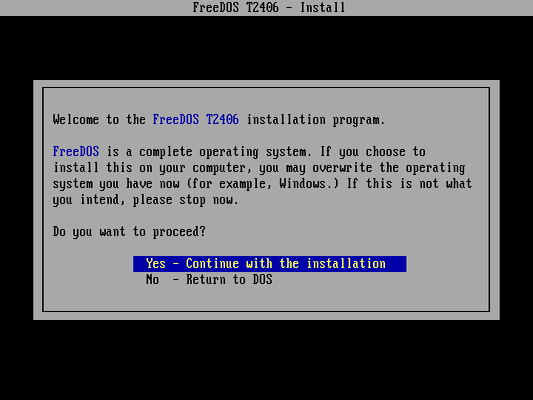
Workaround for the hard drive
I used the standard install process, which seemed to go smoothly. But when I swapped the CF back to the Pocket386 and booted it, the system hung after printing Loading FreeDOS.
I tried several other ways to install FreeDOS, each time exiting the installer to the DOS prompt, and running commands manually. What followed was a lot of debugging with help from other developers on the FreeDOS email list, where we concluded the BIOS didn’t provide LBA support, and the FreeDOS SYS command installed an LBA bootloader for FAT32 partitions.
The secret is in how operating systems address hard drives. In the classic days of computing, you used three parameters to access data on a hard drive: cylinders, heads, and sectors. But since the 1990s, computers supported a different, more flexible way to address the data on hard drives: logical block addressing (LBA). The FreeDOS SYS command will detect LBA support where available and use that.
The BIOS on the QEMU virtual machine supported LBA, but the BIOS on the Pocket386 does not. This makes it impossible to boot with LBA on the Pocket386. To fix this, I had to use an undocumented parameter in FreeDOS SYS to make the hard drive bootable using CHS.
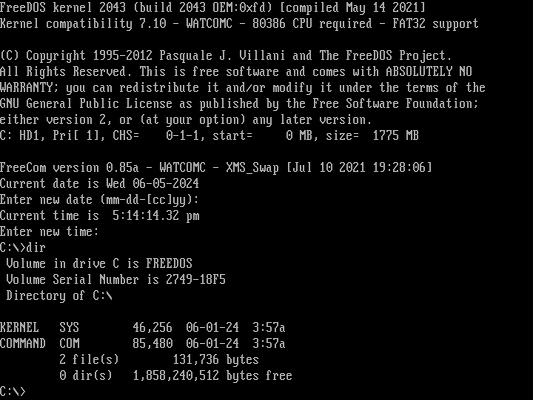
Normally, the manual steps to install DOS on a new system are FDISK to create just a small “C:” drive, FORMAT to create the filesystem, and SYS to make it bootable. After booting QEMU with the CF card on my Linux desktop, I used FreeDOS FDISK to create a new partition that used the whole 2 GB disk, and marked it “Active.” (An “Active” partition means it can be a bootable disk.) I then ran FORMAT C: to create a DOS filesystem on the new partition. So far, that’s as normal. But to transfer the boot code to the drive, I added this option to the SYS command:
SYS C: /FORCE:CHSLoading the CF back to the Pocket386, FreeDOS successfully booted to a C:\> prompt!
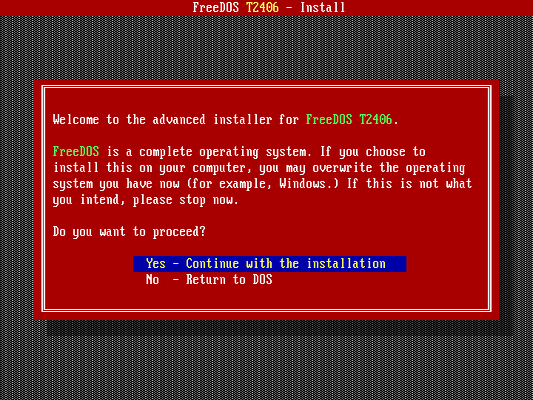
Installing FreeDOS in ‘Advanced Mode’
However, the rest of the FreeDOS software wasn’t installed yet. I swapped the CF card back to Linux and ran QEMU one more time, so I could use the FreeDOS installer.
But I didn’t want the installer to perform its usual steps, because that includes running SYS on the new filesystem. I could have installed the packages manually by unzipping them, but the installer has an “Advanced Mode” that gives the user more control – including skipping the SYS step. To access “Advanced Mode,” exit the installer and return to the DOS prompt. Then type:
SETUP ADVIf the installer has a “red” theme, you know you’re in “Advanced Mode.”
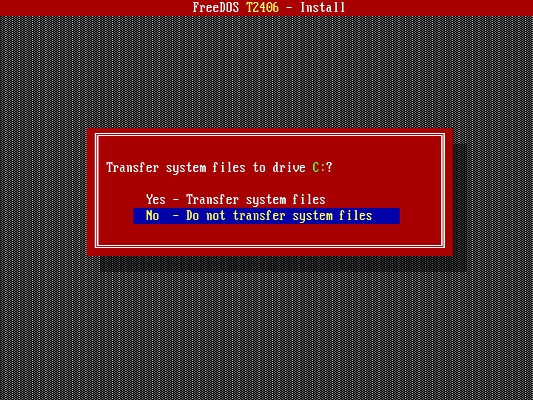
Running in “Advanced Mode” gives you more control over the install process, including the ability to skip the SYS step. When the installer prompts if you want to transfer the system files to the hard drive, that’s the SYS step. Select “No” to skip this.
Retro computing on the Pocket386
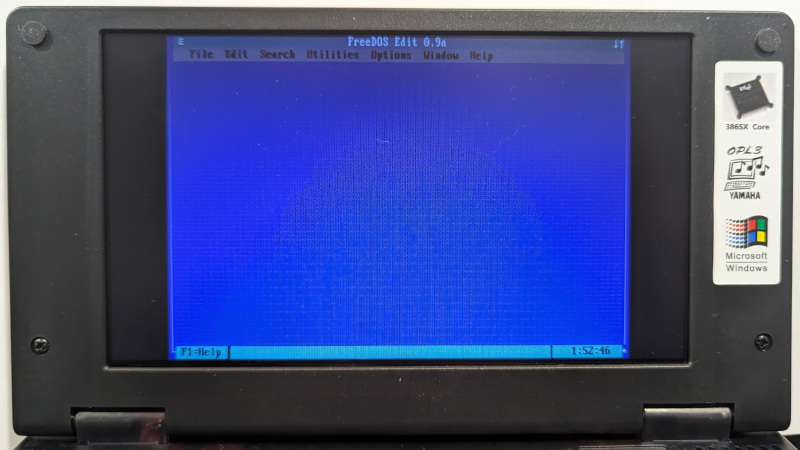
After the installation is complete in QEMU, I shut down and swapped the CF card back to the Pocket386. And now I have FreeDOS running on the Pocket386!
The installation requires the extra step to force CHS mode when making the drive bootable, but that’s not a bad tradeoff when I had to install from a completely different system. The root of the problem is QEMU supports LBA mode, because it is a more recent implementation – but the 1996 BIOS on the Pocket386 only supports CHS mode. The QEMU virtual machine does a great job of emulating a real computer, but it isn’t a perfect match for the hardware on this Pocket386.
To transfer files to and from the Pocket386, I need to connect the CF card to my Linux machine using the CF reader. To access the drive from Linux, I can use the mount command:
$ sudo mount /dev/sda1 /mntThis sets the owner of everything on the CF card to the root user. To instead set the owner to the user with ID 1000, you would instead type:
$ sudo mount -o uid=1000 /dev/sda1 /mntOr to use the username jhall, you can type:
$ sudo mount -o uid=jhall /dev/sda1 /mntHowever you access the CF card, you can then transfer files between Linux and the CF drive using your file manager or the command line. When you’re done, don’t forget to use unmount so Linux will stop using the drive:
$ sudo umount /mntTransferring files this way is a bit inconvenient, but not too different than copying files between systems using “old school” floppy disks. And it allows me to copy over any other files I want to use on the Pocket386, such as my favorite shareware games. This is a good system to run classic DOS games, including Commander Keen:
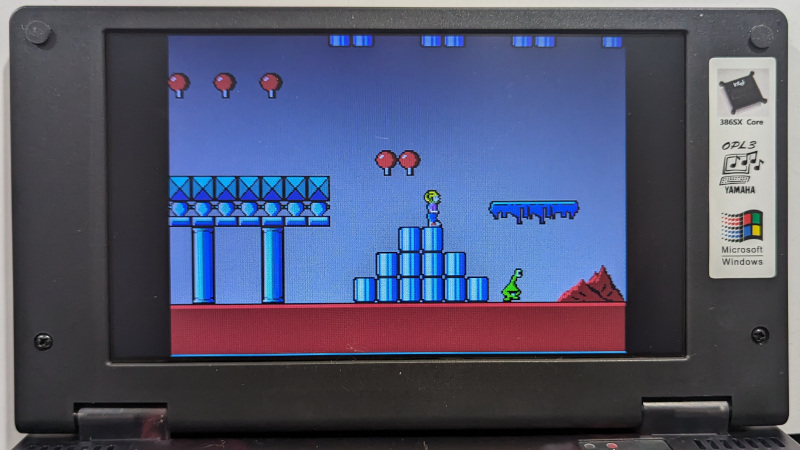
Overall, the Pocket386 is a great micro laptop for running FreeDOS. I’ve been experimenting with it, and it does a great job. I can run my favorite classic DOS applications and games – and I also installed a C compiler so I can write my own programs to add this neat little device. I look forward to playing with it further over the summer. And now, if I need to test FreeDOS on legacy hardware, I can use the Pocket386.
More Stories
Get started with FreeDOS 1.4
A lot has happened in DOS since FreeDOS 1.3. Here’s what to expect in FreeDOS 1.4, available now.
Reading a whole file at once
Two methods to load a data file into memory. Use mmap on Linux sysetms.
Old-school programming with Turbo C
Explore retroprogramming on FreeDOS with this popular freeware IDE.
Calculate pi by counting pixels
This is a very simple way to measure pi, but it was a fun exercise and I wanted to share it.
Looking ahead to FreeDOS 1.4
Help test the next version of FreeDOS with the FreeDOS 1.4 Release Candidate 1 distribution.