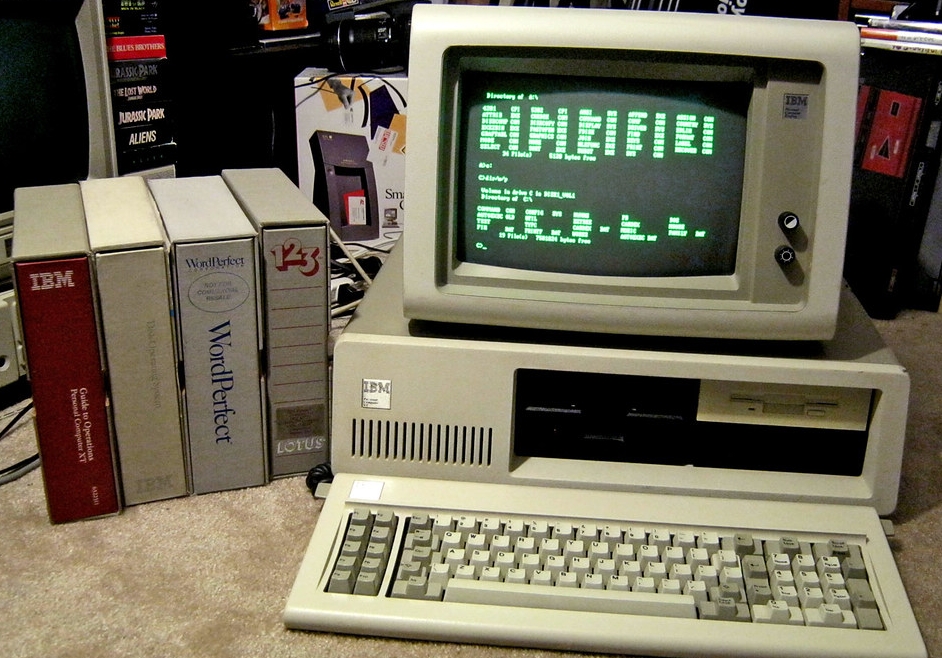
How I boot FreeDOS using QEMU
My longtime hobby is retrocomputing. I helped start the FreeDOS Project in 1994 because I wanted to keep using DOS in a world that was moving to Windows, and I continue to use FreeDOS because I enjoy the challenge of writing programs that run in a restricted environment.
But I don’t have the spare room in my home office for actual classic hardware. Instead, I boot FreeDOS in a virtual machine environment on my Linux computer. Using a virtual machine means FreeDOS runs independently in a “guest” environment, running in a “window” on my Linux desktop.
QEMU is a fast and flexible virtual machine that you configure using command line options. QEMU emulates many things by default, such as a classic PS/2 mouse, but other configurations must be specified using the command line. Here is how I run QEMU to boot FreeDOS on my Linux machine:
Download FreeDOS
Let’s demonstrate QEMU using the FreeDOS 1.3 LiveCD image. The “live” CD means you can boot the CD image on your computer and run a minimal version of FreeDOS. If you want the full FreeDOS experience, you’ll need to run the installer. But for this demonstration, we’ll just boot the LiveCD.
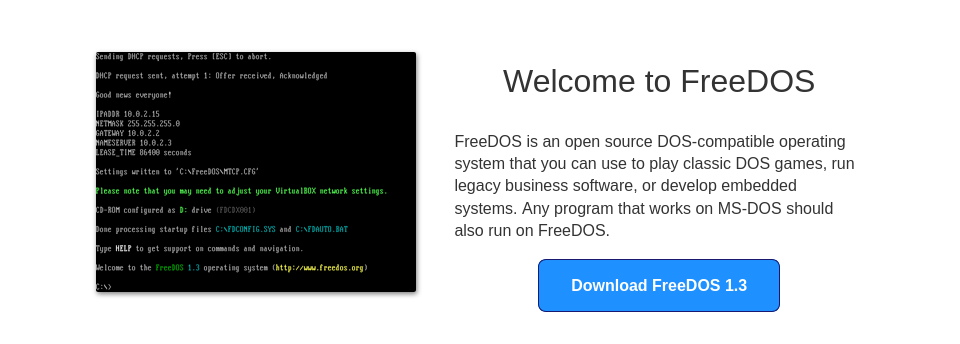
Visit the FreeDOS Project website and click the big blue button that says “Download FreeDOS 1.3”
Scroll down, and find the box titled “FreeDOS for everyone.” Click the blue button to download the LiveCD:
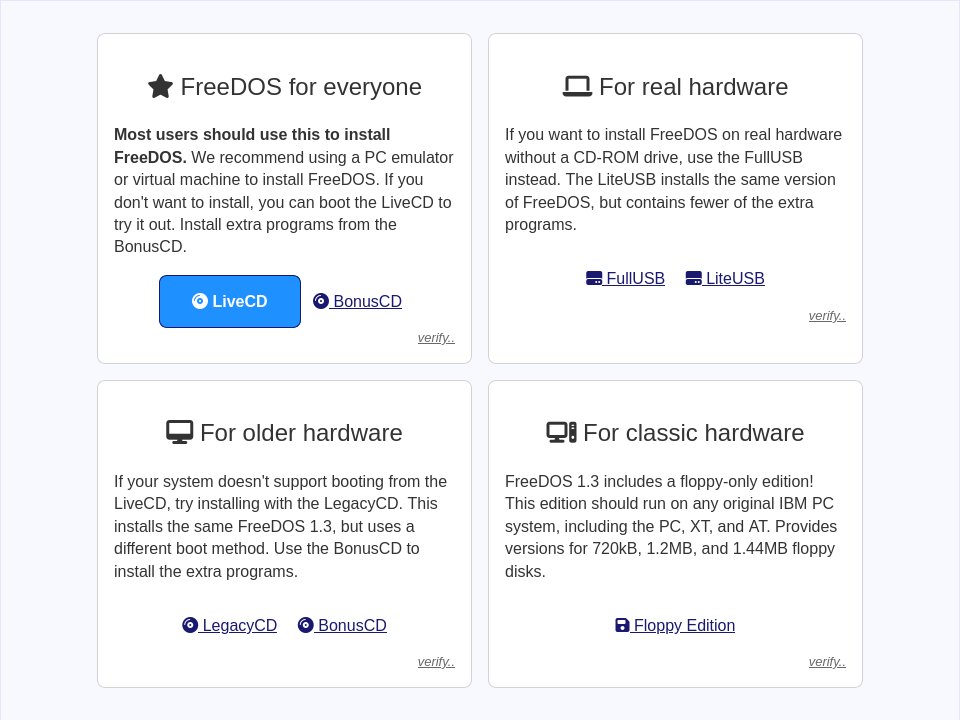
This downloads the file FD13-LiveCD.zip to your computer. The zip file contains the LiveCD image as FD13LIVE.iso and a boot floppy image called FD13BOOT.img. In most file managers, you can double-click the zip file to extract everything in it, but you’ll only need the LiveCD image to boot FreeDOS on QEMU.
Booting with QEMU
To boot FreeDOS using QEMU, you effectively need to build the virtual machine using command line options. This is my full command line:
$ qemu-system-i386 -enable-kvm -m 32 -device sb16 -device adlib -cdrom FD13LIVE.iso -boot order=dQEMU supports different classes of hardware using different programs. The qemu-system-i386 version of QEMU will emulate a classic 32-bit system. To emulate a 64-bit system, such as to run Linux or FreeBSD, use the qemu-system-x86_64 command instead.
By default, QEMU will emulate the CPU instructions for the guest virtual machine machine. But this software emulation can be slow. You can get much better performance by using -enable-kvm to leverage the Kernel-based Virtual Machine (KVM) built into the Linux kernel. The KVM only works if you emulate the same kind of CPU in the “guest” machine that you are running on the “host” machine. For example, you cannot use -enable-kvm to boot FreeDOS on a Raspberry Pi running Linux, because the Raspberry Pi has an ARM CPU and FreeDOS only runs on an Intel CPU.
Set the memory with the -m option. FreeDOS doesn’t need a lot of memory, so -m 32 configures the guest machine using 32 Megabytes of memory. By today’s standards, 32MB is not a lot of memory, but that was plenty in the DOS era of the 1980s and 1990s.
If you want to play classic DOS games, you may need digital sound support. DOS does not provide a Hardware Abstraction Layer. Instead, DOS games of that time accessed the sound hardware directly. The most common sound card in the early 1990s was the SoundBlaster16, and the most popular digital music add-on was the AdLib card. The two command line options -device sb16 and -device adlib add support for SoundBlaster16 and AdLib.
Specify the CD-ROM image using the -cdrom option. To boot FreeDOS, use -cdrom FD13LIVE.iso to configure the virtual machine to use the FreeDOS 1.3 LiveCD image, and -boot order=d to set the virtual machine to boot only from the CD-ROM drive. The d option means “CD-ROM” image. To boot from a virtual floppy, use a; to boot from a hard drive image, use c.
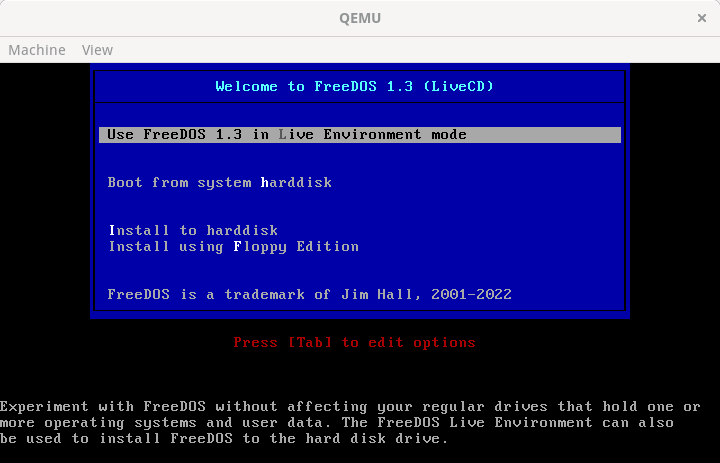
Together, these command line options “build” a QEMU virtual machine that boots the FreeDOS 1.3 LiveCD in a window:
We’ve provided a sample of open source apps and games on the LiveCD. For example, if you type CD GAMES and CD SENET then run SENET, you can play the classic Senet board game:
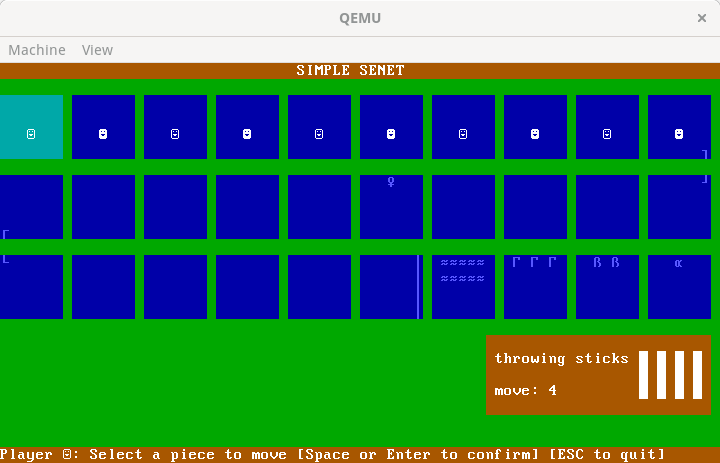
To exit FreeDOS, type shutdown at the command prompt. But because FreeDOS is just DOS, and was created in an era when you could just turn off the computer when you were done with it, you can safely skip the “shutdown” step and just “power off” the virtual machine using the Machine > Quit menu action in the QEMU window. But the “shutdown” command line process ensures that any data you might have written to another device will finish writing before the computer shuts down.
Virtual machines make it easy
FreeDOS has minimal hardware requirements, so you can find many virtual machines that will run FreeDOS. VirtualBox is also quite popular, but I like QEMU as my virtual machine. Every major Linux distribution should include QEMU by default.