Retro-Fun with CRT
Many of us remember the days of the old green or amber text on a Cathode-Ray-Tube (CRT) display. Many of you won’t remember and that’s a good thing. But whether you want to see what it was like for us old-timers or relive the days when you used one, the Cool Retro Term (CRT) terminal emulator is for us.
I’ve used Old IBM mainframe 3278 CRTs, the original green on black IBM PC monochrome display, several early color CRT displays, and a dozen or so different flat screen displays.
The CRT terminal emulator can be made to look like the old displays, some of which are already configured in a number of default profiles and ready to select. You can also modify the existing profiles, altering the amount of bloom, rasterization, scan lines, burn-in and more. Some of the default profiles are Default Amber, Monochrome Green, Green Scanlines, Apple ][, IBM DOS, IBM 3278, and a couple others.
Installation
Cool-retro-term is available for Fedora, Ubuntu and Ubuntu-related distributions like Linux Mint, and others. I used the command line to install on Fedora. On my system it installed a couple libraries as dependencies
# dnf -y install cool-retro-termYou can also download and install CRT from GitHub at https://github.com/Swordfish90/cool-retro-term. This URL has everything you need to build and install CRT yourself. Even if you install from your distro’s repo, it also has some really cool screenshots and animations that show some of the fun effects you can play with.
First Look
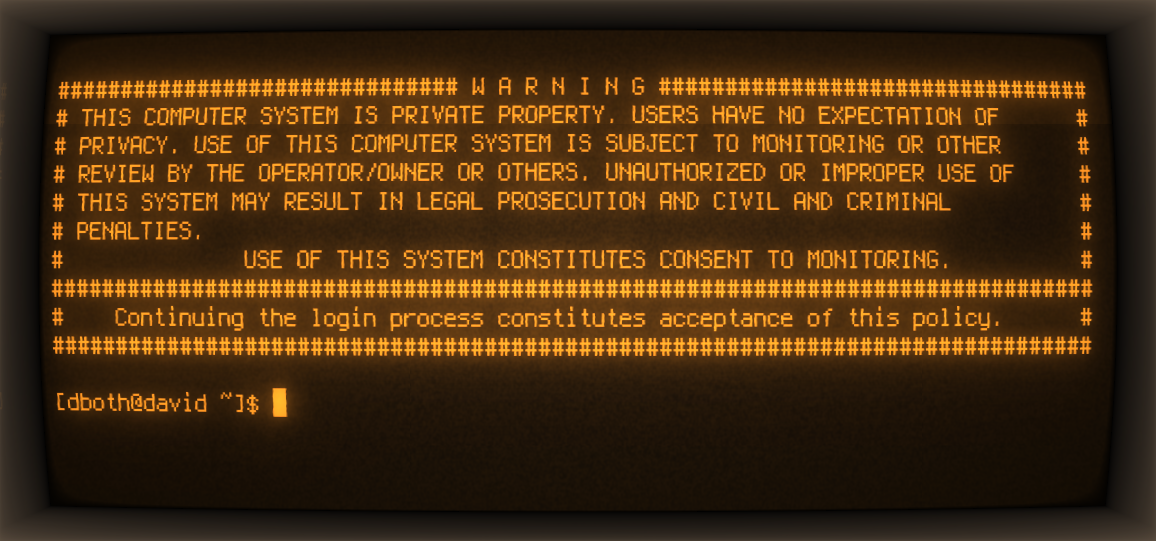
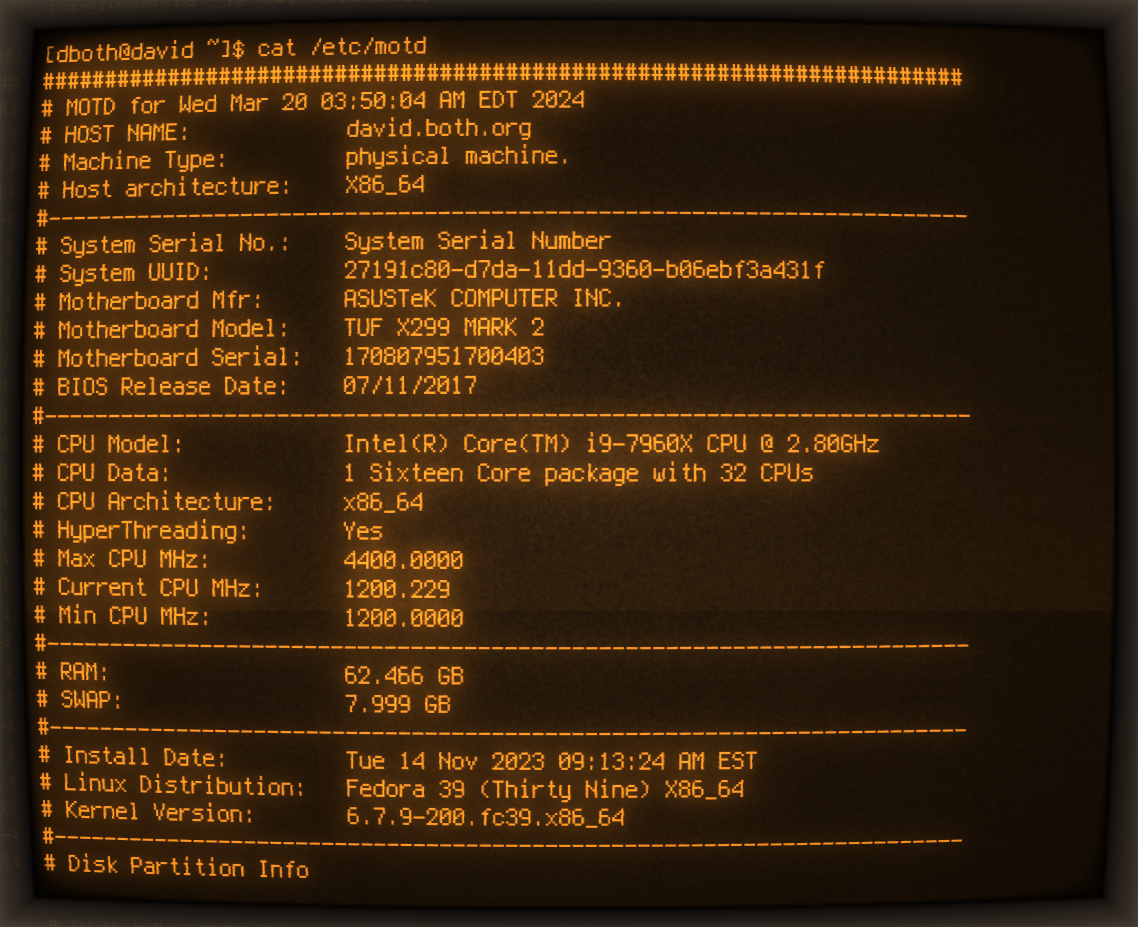
Let’s start by looking at the Default Amber case which is the default after installation. I personally prefer amber text so this is a good place to start for me. On my Fedora Xfce systems it can be launched from Applications=>System=>Cool Retro Term. Figure 1 shows how it looks without any changes.
Note: You can click on the figures in this article to open larger versions of the graphics.
You can see that the CRT program simulates the curvature of a real CRT screen. It can also simulate many of the other fun little quirks we found so annoying when we used those old devices. Things like jitter, scan lines, static, flickering, and more. We’ll look at how to do that a bit further on.
Selecting a Different Terminal Profile
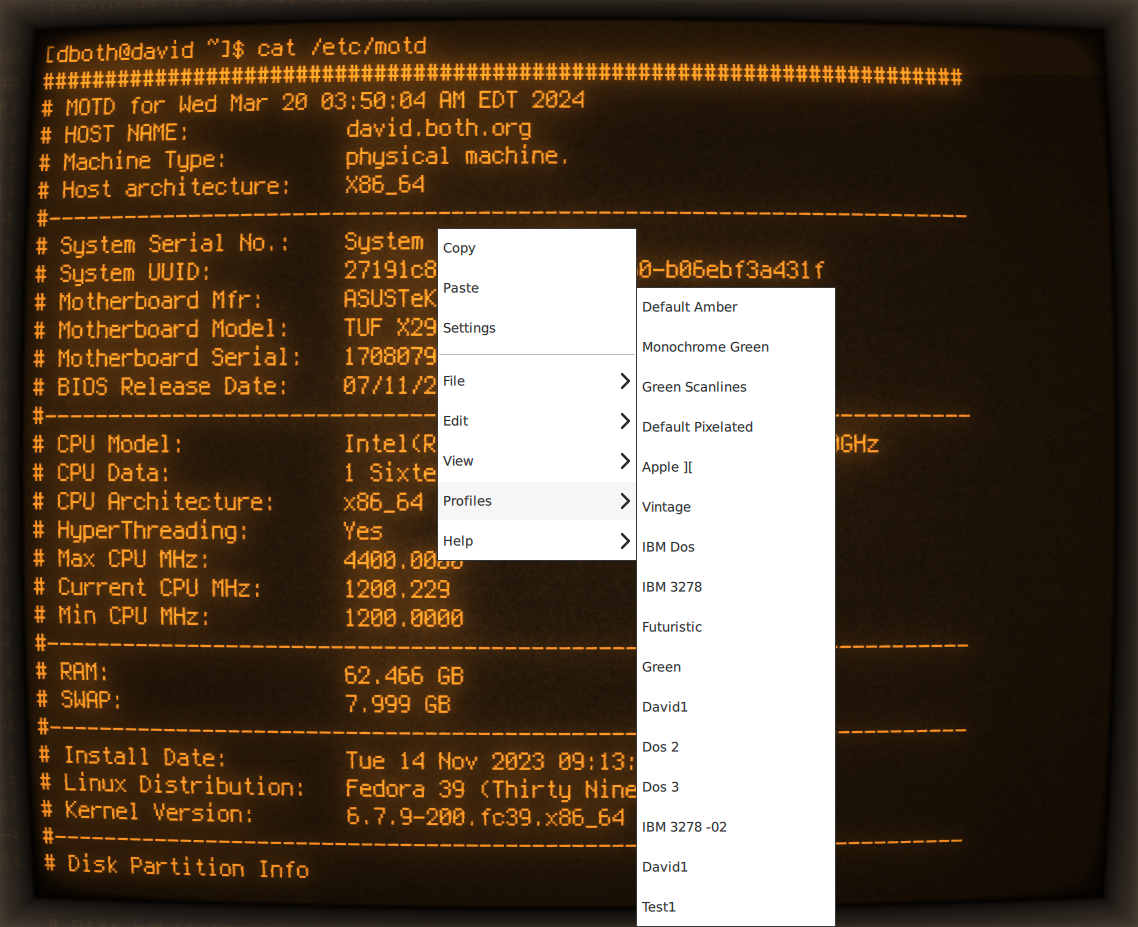
Changing the current terminal profile takes only a couple clicks of the mouse. Right click anywhere on the CRT window as and select the Profiles menu item as shown in Figure 2. Then choose the profile you want.
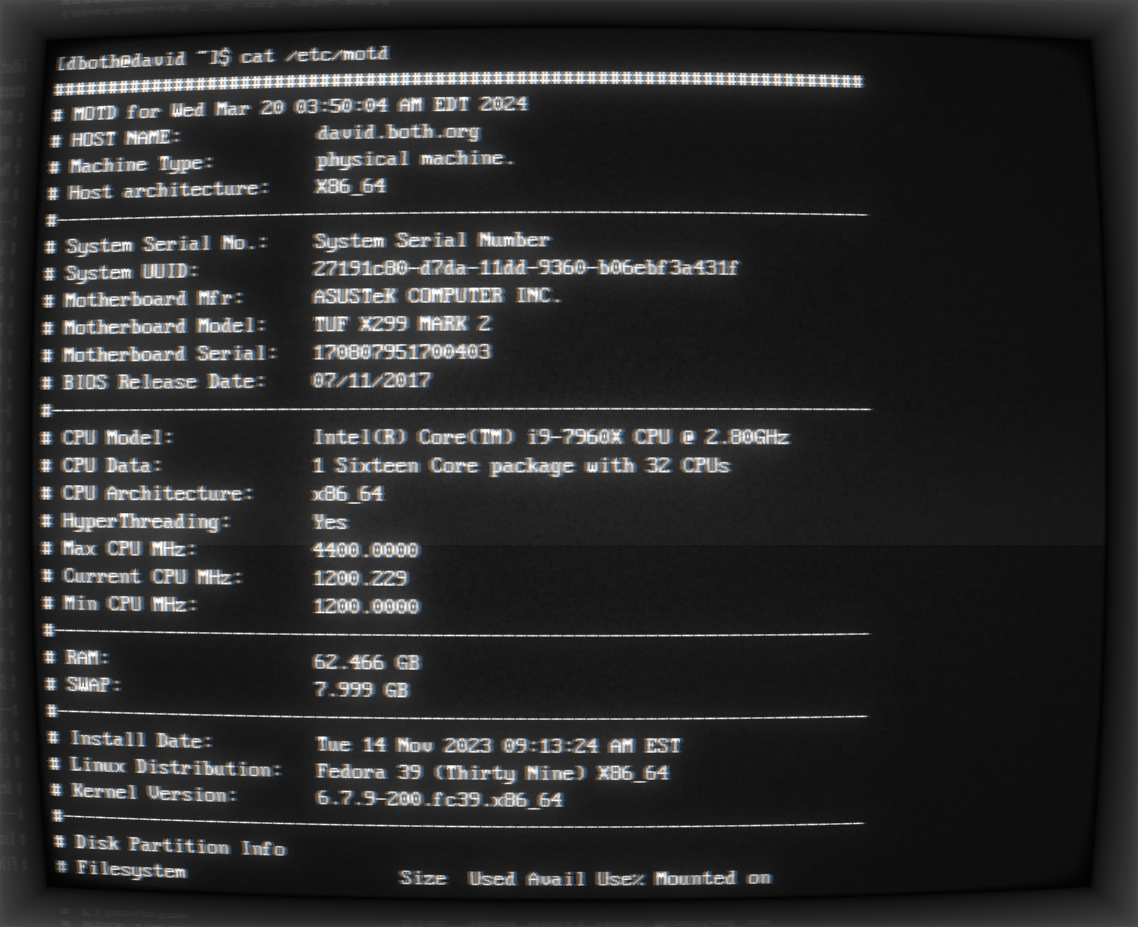
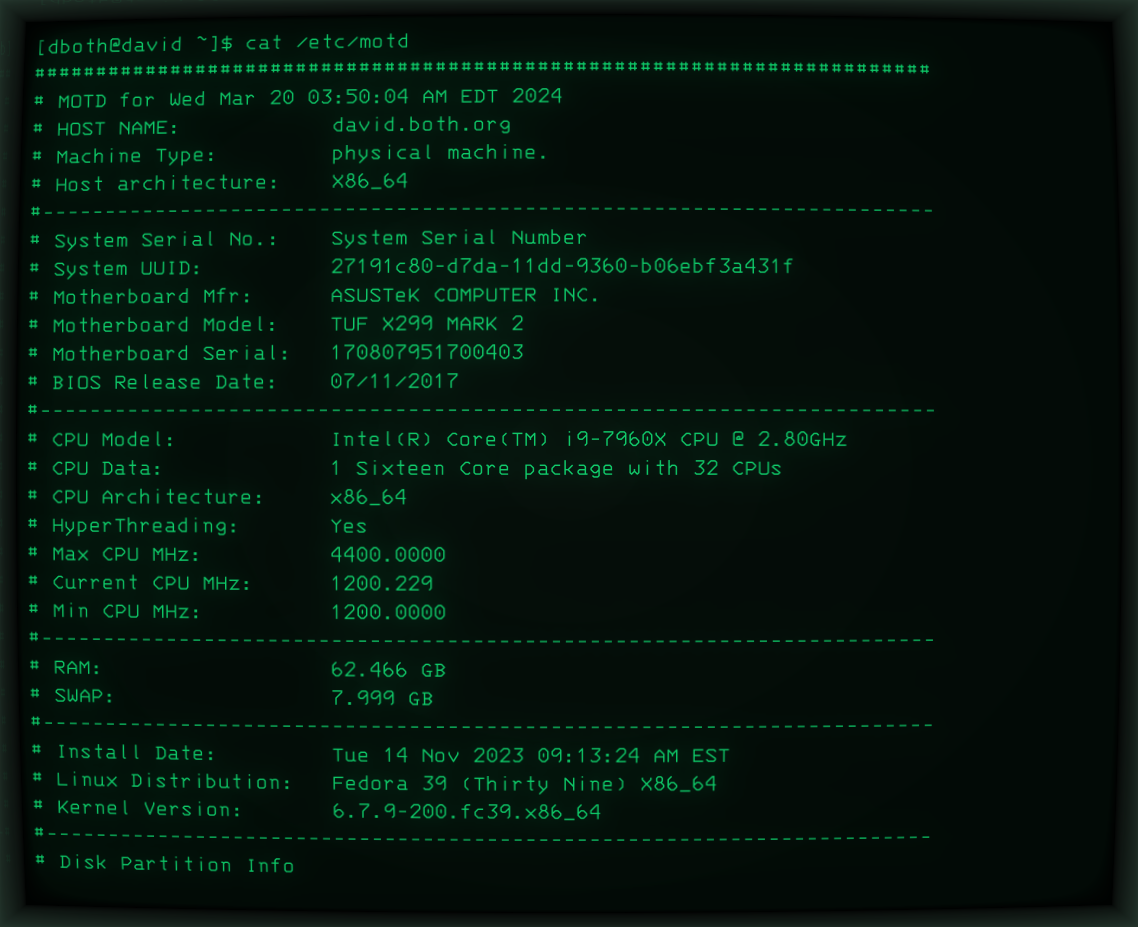
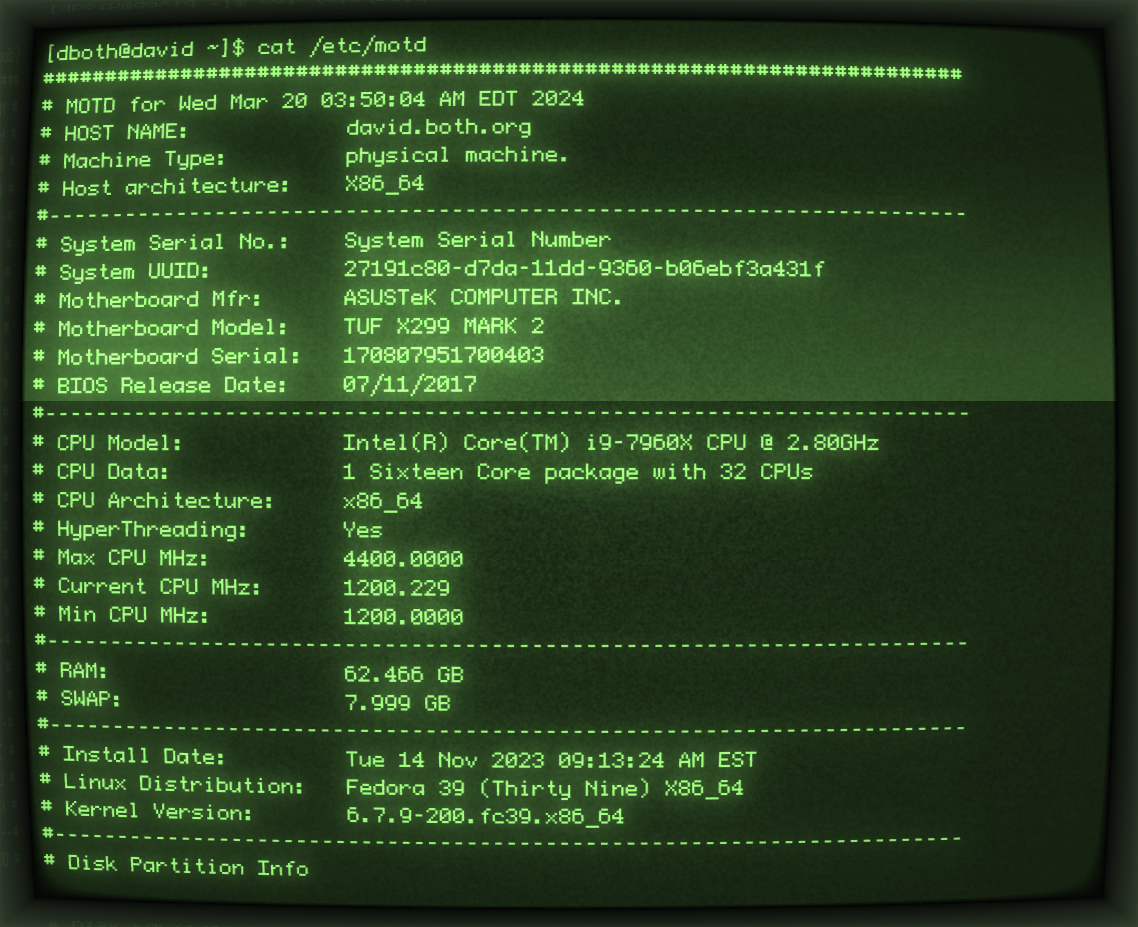
I initially spent some time exploring the existing profiles just to see what they’re like. Here are some of my favorites. Click on the graphics below to see a larger version in a new tab or window.
Changing the Current Profile
Making modifications to the current profile is straightforward. Right click on the CRT terminal window and select the Settings menu item in the context menu.
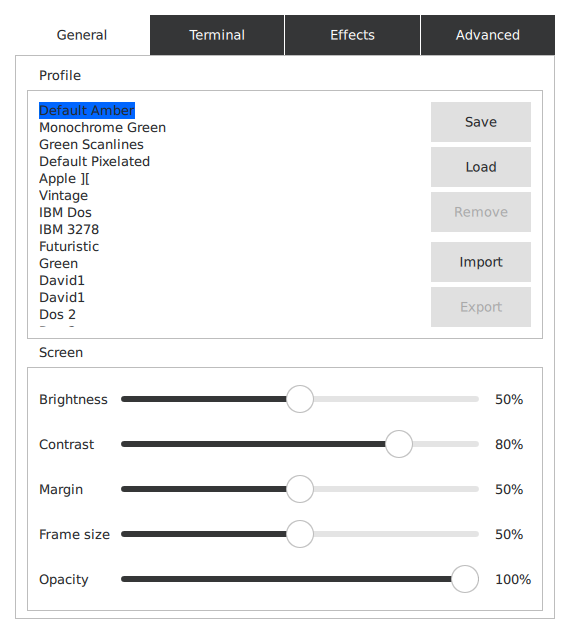
You can see the menu in Figure 6 which shows the first page of this dialog. This page of the dialog allows basic modifications such as brightness and contrast.
Warning! For now do not attempt to save, load, or select any of the existing profiles or change anything in the Profile section of this page of the dialog. The highlight does NOT show the current profile.
However the changes you make using the Screen section of this page of the dialog are saved automatically to the current profile.
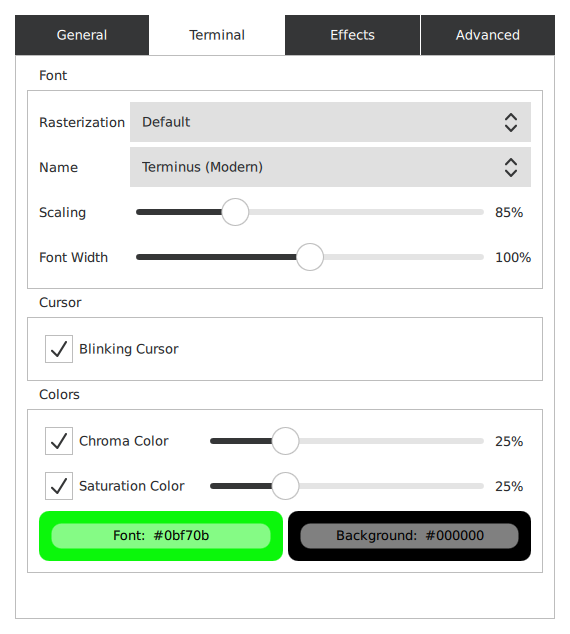
Figure 7 shows the Terminal page of the Settings dialog. You can change the font scaling and width as well as the basic colors and their attributes on the Terminal page.
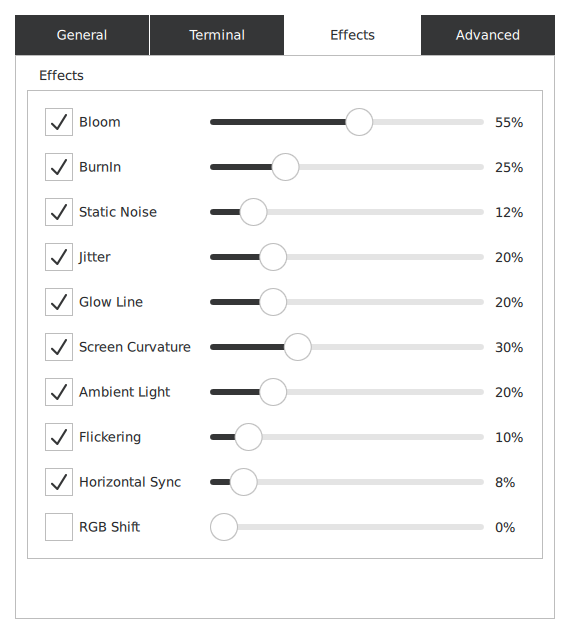
Now switch to the Effects page shown in Figure 8. The sliders on the Effects page of the Settings dialog add or remove the special effects and to adjust the amounts of each. These can be a lot of fun to play with, but it’s easy to add too much of them making the result more annoying than fun when trying to do real work.
Creating Your Own Profiles
In Figure 2 you can see that I have created some additional profiles for myself just for fun and to experiment with how things work. Although I could change any of the default profiles, I prefer to keep them intact.
Start with a right-click on the CRT window and then select the Settings menu option. That opens the Settings window. To create a new profile, I select and Load the one that most closely matches what I think I want to do. Loading the profile makes it the current one and all changes are made to the current profile. I immediately click the Save button then type a new profile name in the Save New Profile dialog. I then click on OK to save this new profile under the name I supplied.
At this point I can make any changes I want and they will be saved automatically to this new profile.
Using the Terminal
Once it’s been launched, CRT works like any terminal emulator — with the exception that you can make it look like any number of old CRT terminal types. The Shift+up and Shift+Down arrow kest scroll up or down a single line at a time. Shift plus page up and down scrolls by a complete page. You can also use the mouse wheel to scroll.
It works like any Linux terminal emulator and doesn’t interfere with my shell configurations.
Parting Thoughts
The Cool Retro Term terminal emulator is a fun way to bring back memories for those of us who were there, or to pretend that you are there for those of us who are too young to have been there. It’s also a non-boring way to be productive and get some actual work done.
I hope you have as much fun with Cool Retro Term as I did.
