How I switched from Docker Desktop to Colima
Colima is a Docker Desktop alternative for macOS and Linux that’s now supported by DDEV.
DDEV is an open source tool that makes it simple to get local PHP development environments up and running within minutes. It’s powerful and flexible as a result of its per-project environment configurations, which can be extended, version controlled, and shared. In short, DDEV aims to allow development teams to use containers in their workflow without the complexities of bespoke configuration.
DDEV replaces more traditional AMP stack solutions (WAMP, MAMP, XAMPP, and so on) with a flexible, modern, container-based solution. Because it uses containers, DDEV allows each project to use any set of applications, versions of web servers, database servers, search index servers, and other types of software.
In March 2022, the DDEV team announced support for Colima, an open source Docker Desktop replacement for macOS and Linux. Colima is open source, and by all reports it’s got performance gains over its alternative, so using Colima seems like a no-brainer.
Migrating to Colima
First off, Colima is almost a drop-in replacement for Docker Desktop. I say almost because some reconfiguration is required when using it for an existing DDEV project. Specifically, databases must be reimported. The fix is to first export your database, then start Colima, then import it. Easy.
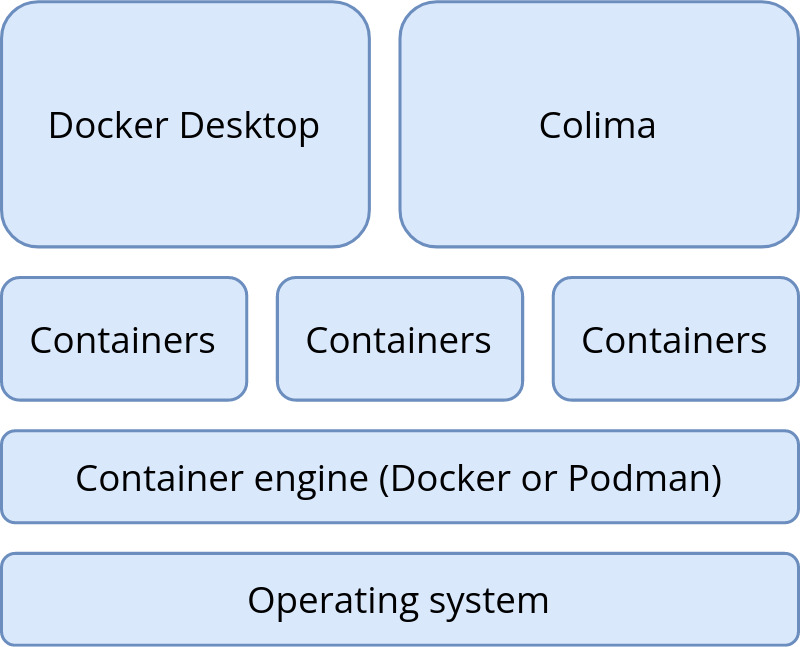
Colima requires that either the Docker or Podman command is installed. On Linux, it also requires Lima.
Docker is installed by default with Docker Desktop for macOS, but it’s also available as a stand-alone command. If you want to go 100% pure Colima, you can uninstall Docker Desktop for macOS, and install and configure the Docker client independently. Full installation instructions can be found on the DDEV docs site.

If you choose to keep using both Colima and Docker Desktop, then when issuing docker commands from the command line, you must first specify which container you want to work with. More on this in the next section.
Install Colima on macOS
I currently have some local projects using Docker, and some using Colima. Once I understood the basics, it’s not too difficult to switch between them.
- To get started, install Colima using Homebrew
brew install colima ddev poweroff(just to be safe)- Next, start Colima with
colima start --cpu 4 --memory 4.The--cpuand--memoryoptions only have to be done once. After the first time, onlycolima startis necessary. - If you’re a DDEV user like me, then you can spin up a fresh Drupal 9 site with the usual
ddevcommands (ddev config, ddev start, and so on.) It’s recommended to enable DDEV’s mutagen functionality to maximize performance.
Switching between a Colima and Docker Desktop
If you’re not ready to switch to Colima wholesale yet, it’s possible to have both Colima and Docker Desktop installed.
- First, poweroff ddev:
ddev poweroff - Then stop Colima:
colima stop - Now run
docker context use defaultto tell the Docker client which container you want to work with. The namedefaultrefers to Docker Desktop for Mac. Whencolima startis run, it automatically switches Docker to thecolimacontext. - To continue with the default (Docker Desktop) context, use the
ddev startcommand.
Technically, starting and stopping Colima isn’t necessary, but the ddev poweroff command when switching between two contexts is.
Recent versions of Colima revert the Docker context back to default when Colima is stopped, so the docker context use default command is no longer necessary. Regardless, I still use docker context show to verify that either the default (Docker Desktop for Mac) or colima context is in use. Basically, the term context refers to which container provider the Docker client routes commands to.
Try Colima
Overall, I’m liking what I see so far. I haven’t run into any issues, and Colima-based sites seem a bit snappier (especially when DDEV’s Mutagen functionality is enabled). I definitely foresee myself migrating project sites to Colima over the next few weeks.
This article originally appeared on the DrupalEasy blog and is republished with permission.