Teaching technical writing with open source
In addition to my work as a consultant, I also teach a few courses on technical writing. One of these is a course about writing with digital technologies, which provides students with hands-on experience with writing tools and technologies that are used across the technical writing field.
Modern technical writers can choose from a long list of tools and technologies to get the job done: word processors, plain text editors, web content management systems, markup languages, the list goes on. We have a limited time during a semester, and we cannot explore every writing tool and technology out there, so I need to choose what tools to explore. I try to focus on writing technologies that are foundational to technical writing, and provide a solid base from which students can continue to learn about other, similar systems later in their career.
And as it happens, I also choose open source tools and open standards. Here is how I teach technical writing using open source software:
Markup languages
I prefer to start with markup languages. Our first exploration is HTML, the hyper text markup language. HTML is used everywhere, in every website. And while working technical writers will likely use a web content management system to create web content, every technical writer will tell you that knowing a little HTML will get you a long way.
At some point, the web content system will mess up, and you’ll need to fix things without breaking the page further. And that’s what I teach my students.
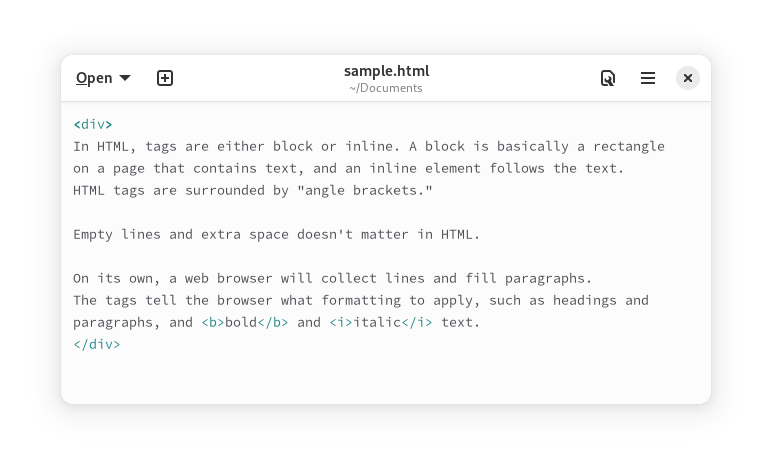
We start with the basics of inline and block HTML elements. I provide a sample HTML document written only with <div> and <span> elements, and show how <div> is a block element that defines a “rectangle” and that <span> is an inline element that follows the text.
Every HTML tag is either a block element or inline element. Headings and paragraphs are typical examples of block elements, and you can define a background color to see that they fill a rectangle. Bold and italics tags are inline elements, and only follow the text they modify.

With a solid understanding of HTML tags, we move on to XML. This is not a great leap, because XML and HTML are very similar. XML follows the same basic rules as HTML: the “document” is contained in a single parent data block. Further data is contained in matching pairs of tags. The key difference is that HTML is well defined; you have to work within the defined tags. But XML is extensible and you can define your own tags and data structure to do what you want within a document.
We study both “XML as data” and “XML as markup language.” We go into the basics of DocBook, which is just an XML document. With this understanding of XML markup, we also explore DITA (another XML markup system) and EPUB (a zip file container with XML metadata and HTML content).
Open source tools
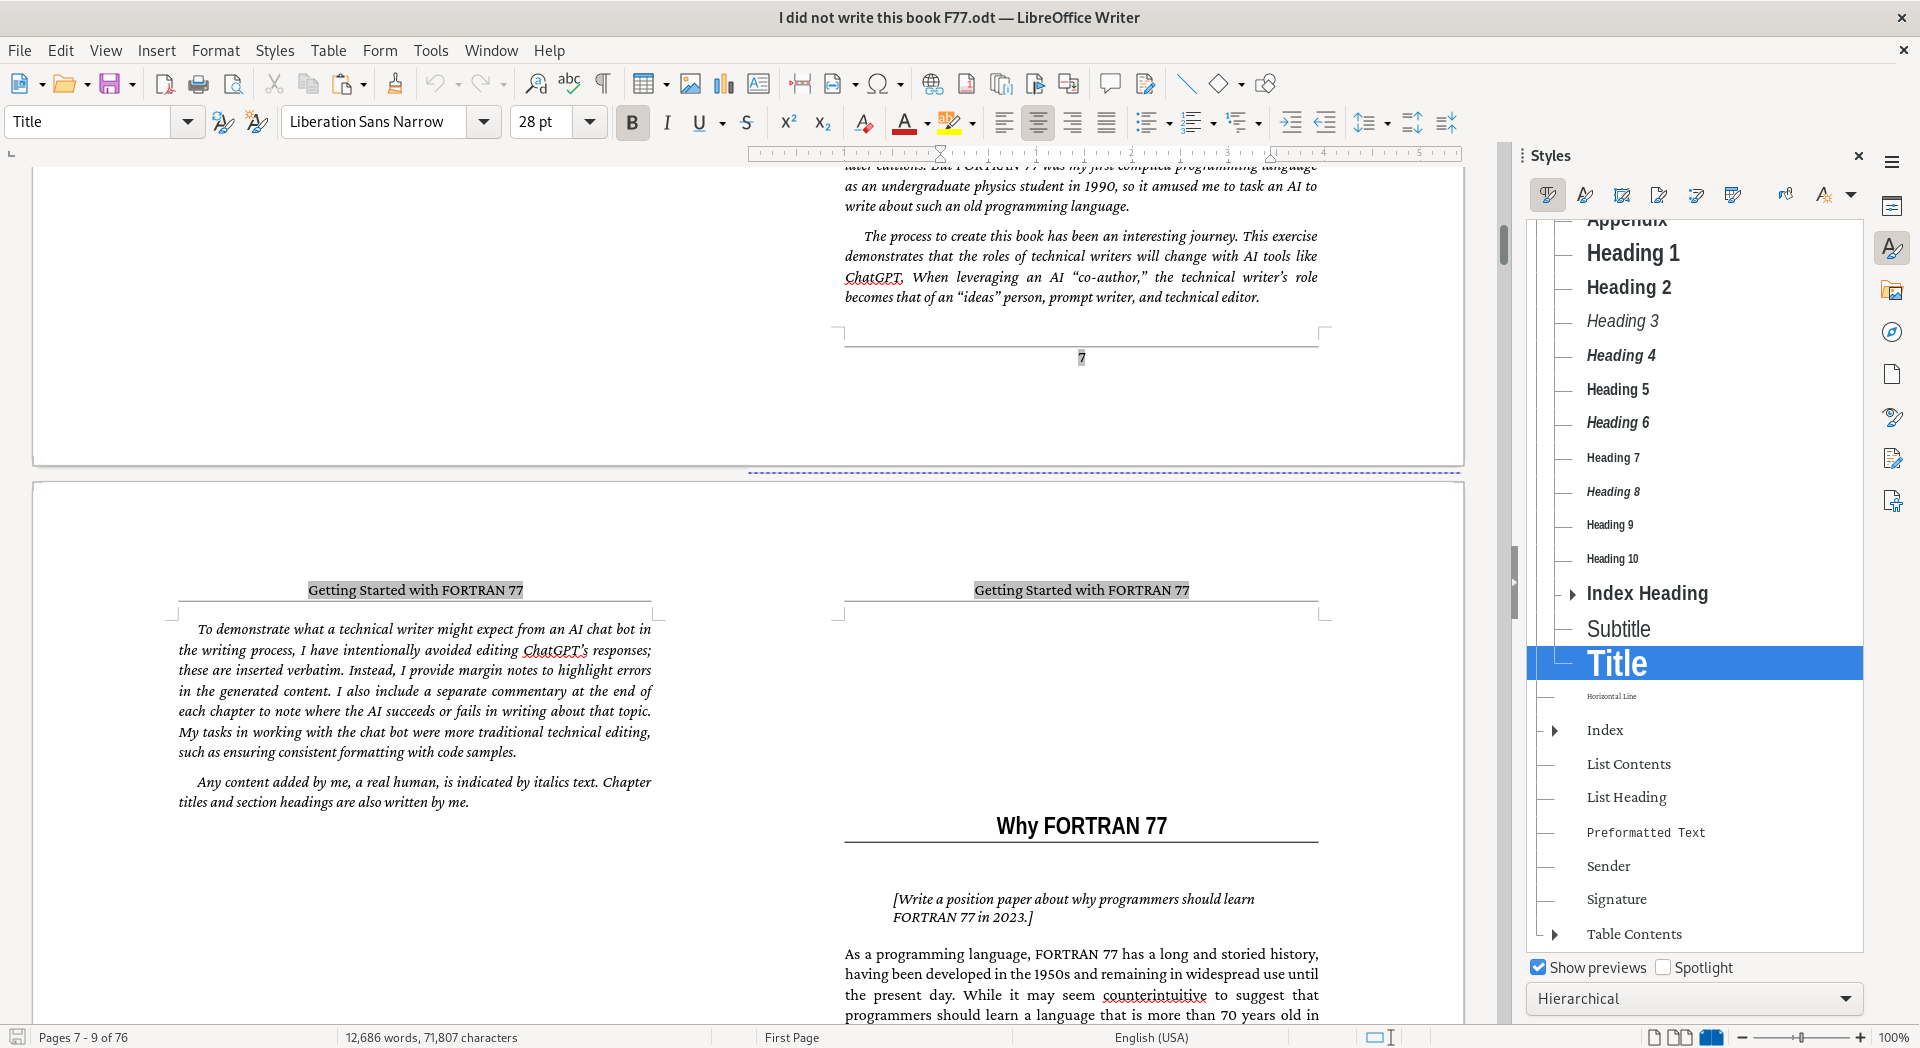
Not all technical writing is done with markup systems. Often, technical writers need to use a visual tool to do the job. Much of today’s technical writing is still done with desktop word processors, so I teach students how to get the most out of those tools. We use LibreOffice Writer to create intricately formatted documents, relying heavily on styles. Styles are a power feature in word processing, and LibreOffice has mature support for paragraph styles, character styles, page styles, list styles, table styles, and frame styles.
For example, technical writers can modify a Heading 1 style to insert a page break before the heading, so a chapter or major section can start on a new page. Further, you can define that the new page is a “Right Page” (an odd-numbered page, which always appears on the right in a printed book) or that the heading should have a certain amount of space above or below it.
With styles, it’s easy to keep a long document looking consistent throughout. And you can update a style later, and the word processor updates the entire document to match. For example, I never use direct formatting to make bold text or italic text; I use the Emphasis character style for italic text and Strong Emphasis for bold text. During the draft stage, I define both of these to use a blue text color, so I can more easily see how I’m using these styles across my document. When I’m ready for publication, I update these styles to make the text black, and LibreOffice Writer applies the style throughout my entire document automatically.

But sometimes a desktop word processor isn’t enough. Some technical writers also must create print-ready material, such as fliers, posters, and information cards. A word processor isn’t up to this task, so technical writers need to use a desktop publishing system.
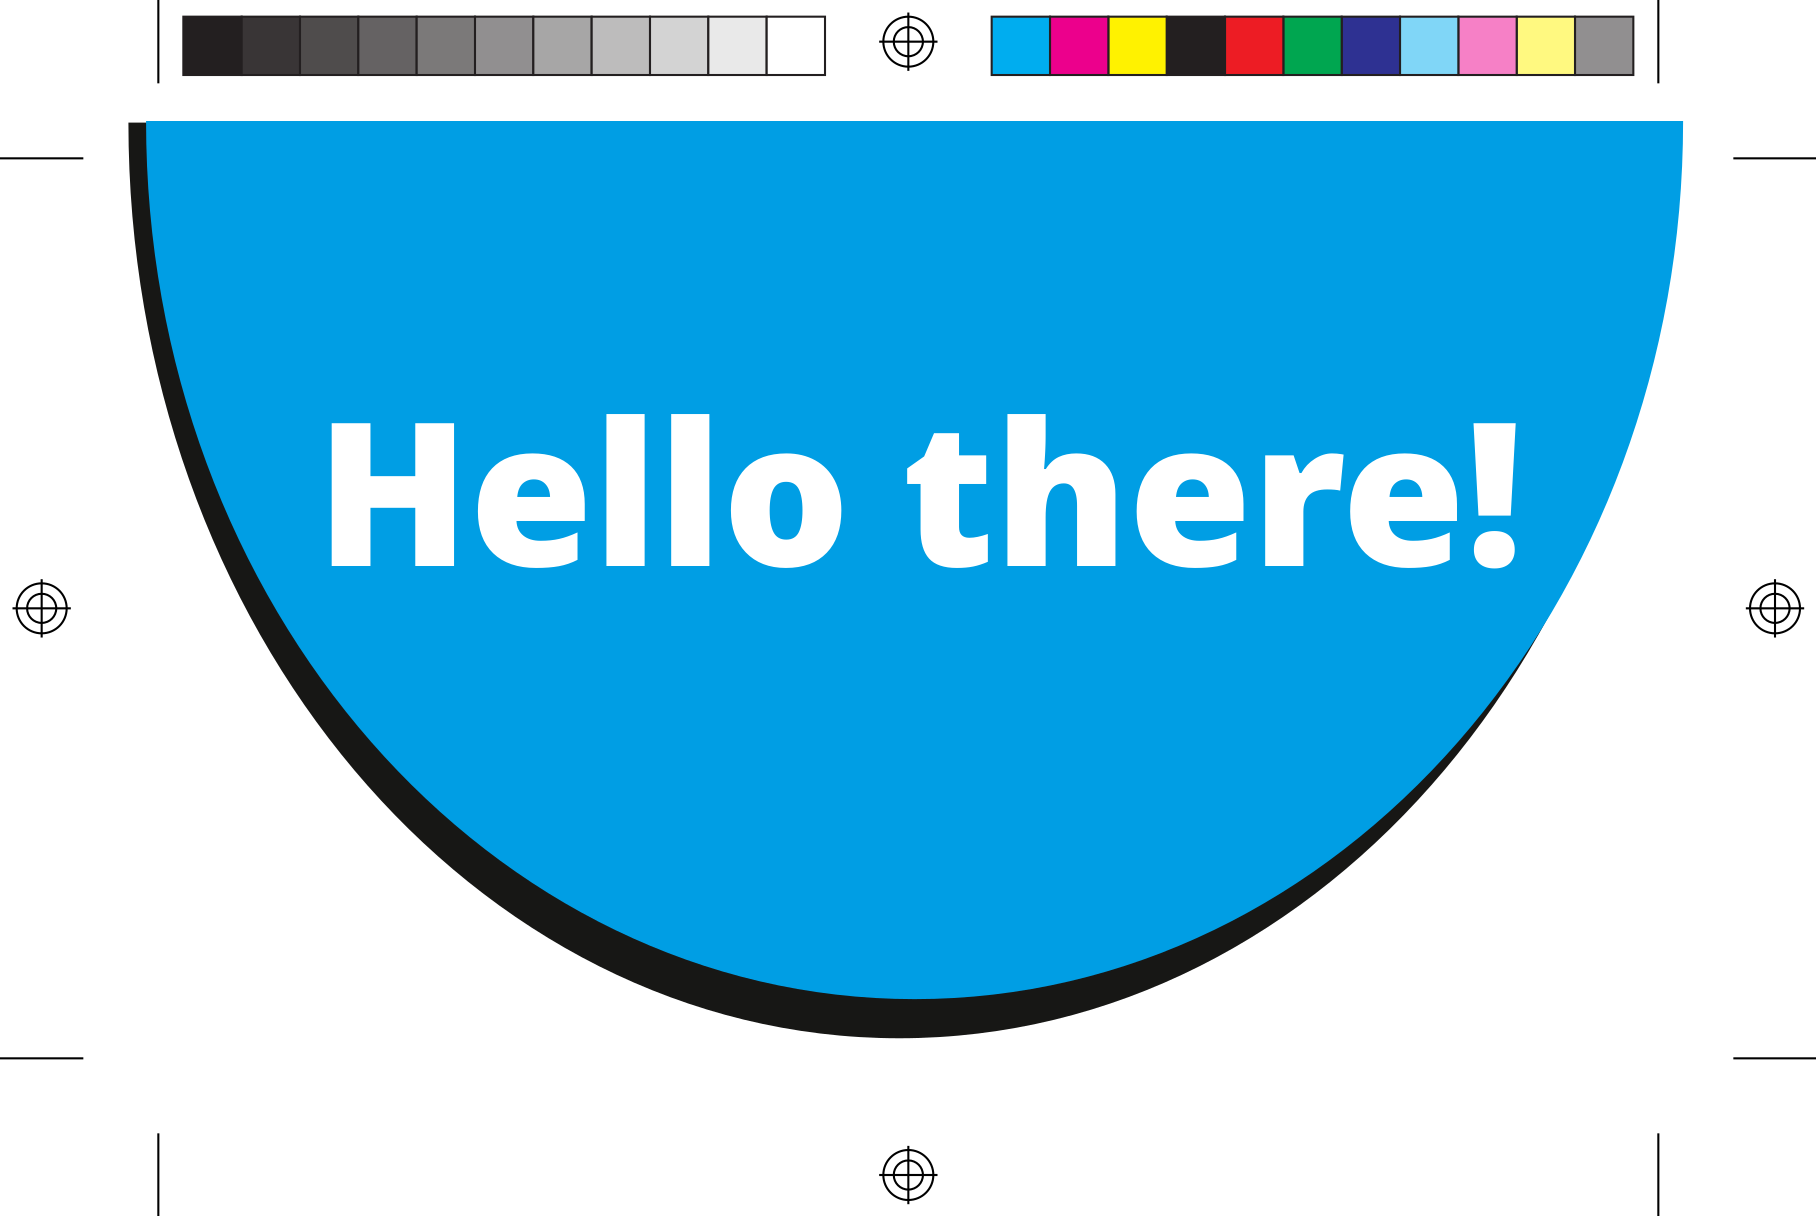
Scribus is an outstanding open source desktop publishing package. With Scribus, or any desktop publisher, you can define a bleed area for a document that will have edge-to-edge color such as a flier. With a bleed area, you print the document to be a little larger than you need, then trim it. After cutting, the colors will go right to the edge of the document. This PDF, exported from Scribus, shows how shapes extend into the bleed area; the lines in the margins show the cut marks.

Technical writing with open source
My students enjoy learning about technical writing using open source software. Their feedback on this course has been consistently high, commenting particularly about learning LibreOffice and HTML. With the writing tools and technologies that we learn in this course, students are very well prepared for careers in technical writing. Whether they use open source tools or a proprietary system, the concepts and foundations are the same.